Lonely Tree – A simple watercolor exercise
November 6, 2023

This is a rather simple little watercolor exercise with only two colors, which can still become a painting worthy of being framed on your wall.
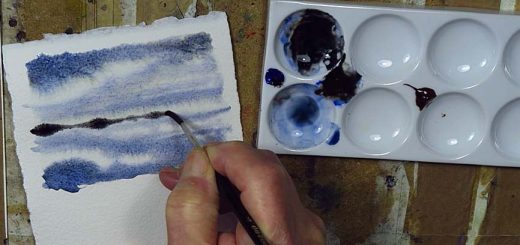
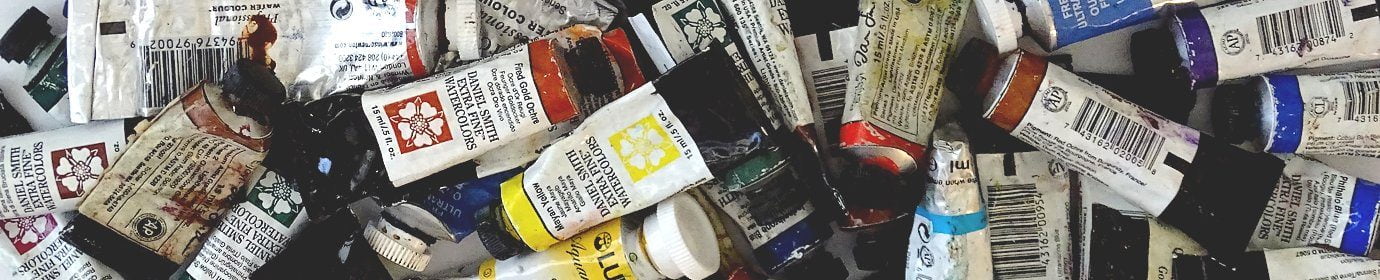
The colors for the painting are French ultramarine and burnt sienna. Sienna is one of the colors that vary incredibly between different manufacturers and types of sienna. Several different pigments are used for the color, even though there is really only one valid one. The only criterion the manufacturer seems to have for naming a color burnt sienna is the hue. As long as it’s brownish orange, a color can be called burnt sienna.
Your burnt sienna may be different from the one I used for the painting, and if so, it will be a little different. The color varies from vivid orangish-brown to dirty reddish-brown.
Step 1

Color the sky with a very fluid, fairly light, grey-blue color mixed with both colors. Paint down to the horizon where you see a lot of trees in the photo. The snow on the tree in the foreground should be white, so save the entire trunk of the tree by simply painting around it. Before the sky has dried you can throw in some burnt sienna (unmixed light and flowy) anywhere in the sky, I did it on the right side of the image.
Before letting the paint dry, soften the edge of the sky against the snow with a slightly damp brush. This is to avoid an uncomfortably hard edge.
Step 2

Once the sky is dry, paint distant trees in the background with a light gray color mixture. Create irregular tops of light gray areas for the trees. Moisten the bottom edge of the surface with a wet brush to create a soft edge against the snow. Also, create soft treetops in the same way. If you’d like, you can add some darker color to parts of the trees wet-on-wet.
Step 3

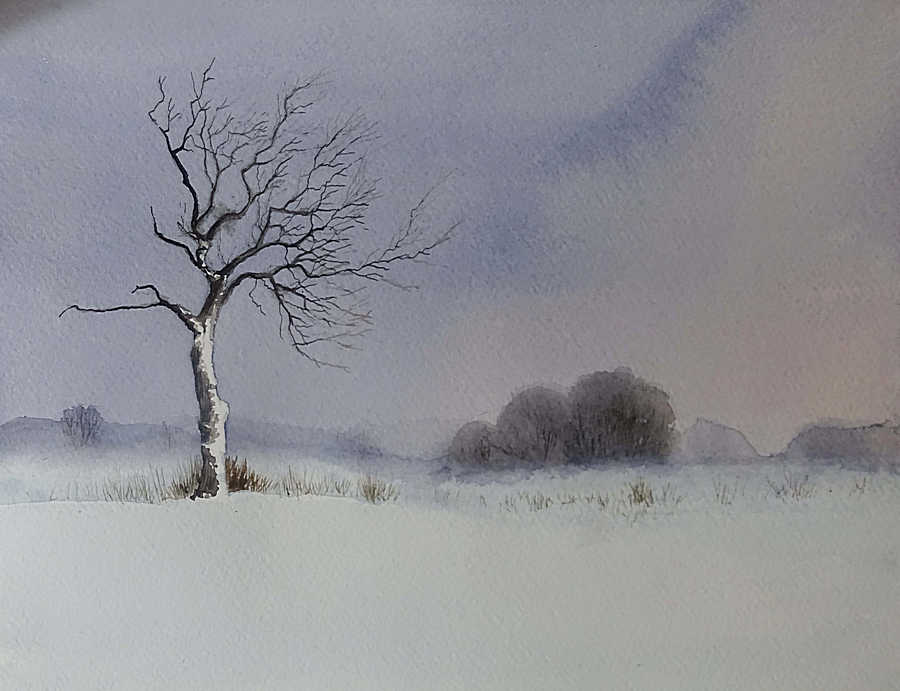
Mix a fairly dark but not black color mixture (Many people paint brown trees, most tree trunks are not brown). Paint the trunk and the larger branches with this color. Be careful with the snow on the tree trunk. Preserve a nice snow pattern, especially on the right part of the trunk.
Next, I continued to create small branches, and bark patterns in the trunk, with a dip pen and an almost black color mixture. You can also paint (draw) some trunks on the trees in the background. It is of course possible to use a small brush instead of a dip pen, but it is easier to use a pen than a small brush.
Step 4
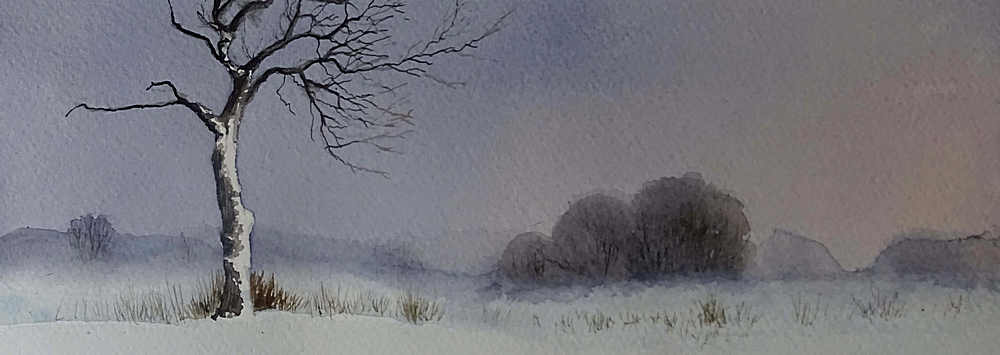
Paint with a light blue-gray color the field between the front tree and the back ones. This is to create a “line” for the tree in the foreground. If you want, you can at the same time place an even lighter variant of the same color in front of the tree, just so that the ground is not left completely white. This color does not need to be painted evenly and nicely, a little uneven will be fine.
Finally, you must paint a thousand small blades of grass along the “line” on which the tree stands. I did these with a dip pen but of course you can use a small brush if you want.