Splash
June 26, 2024

This is a fun exercise. You can use any two colors you like, I used phthalo green (yellow shade) and quinacridone rose. But any color combination can work. The only requirement is that the two you choose must be able to be mixed into a black color. It works, for example, with French ultramarine and burnt sienna or Phthalo blue (preferably red tone) and some red brown color, e.g. English red. Maybe you can get some more tips from this article.
In addition to two optional colors, you must have masking fluid. Without masking, the exercise will not work.
Step 1
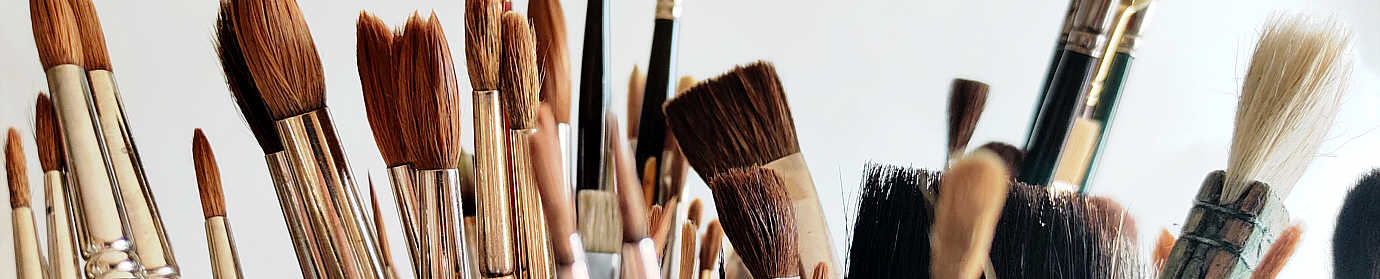
Start by drawing the outlines of the two tubes of paint you chose for the exercise and one or two brushes. It is of course more fun if the tubes on the painting are the same ones you used. But it is not a requirement. If you use watercolor paint in pans, I think you should paint a tube anyway. A small pan is not as striking as a tube.
An easy way to depict objects in 1:1 scale is simply to lay the objects on the watercolor paper and then follow the shape with a pencil, however you must compensate for the thickness of the pencil or the objects will be too large.
When all the tubes and brushes are drawn, paint them with masking fluid. Paint quite liberally with the liquid, then it will be easier to remove it later. A stiff and reasonably hard glued paper is preferred, a simpler paper or a paper that is soft may tear when you remove the masking.
Step 2
Mix your chosen colors together until you have obtained a black (neutral) color mixture. Better to do too much paint than too little, the excess will be needed later in the painting, and you don’t want the paint to run out before you’ve finished painting.

Take some of your dark color mixture into a clean mixing cup and mix the color with a lot of water. Next, paint the entire paper with this light gray color, just so that the paper is not left completely white. Then wait until the liquid has been sufficiently absorbed by the paper. Also make sure that the water is evenly distributed over the paper. Paint shadows wet on wet on any side of the objects. In my painting, the light comes from the left so the shadows end up to the right of each object.
If the black paint flows out too much, your paper is too wet or you are using too much paint in the brush. For additional contrast, when the shadows are painted, you can add a small string of very black paint along the edge of each object.
Allow to dry completely.
Step 3
Now for the fun part of painting: splattering and splashing. Use your two colors, just mix them with water, not with each other, but let the color mixing happen on the paper. Make the colors quite intense, just add clean water directly to the paper if they are too dark.

There are several ways to create natural-looking splatter. You can hit with a filled (preferably smaller) brush directly on the paper, or against the index finger of the other hand. It is also possible to use a toothbrush, it produces nice splatters. Feel free to practice on a regular printer paper if you need to practice.
Remember to change the angle so that not all splashes get the same direction. You can accomplish this by rotating the paper, it may be easier than constantly changing the angle of your hand to the painting.
Keep splashing until you’re satisfied. it is important that the entire paper is not filled with color. Leave quite a lot of paper unsplattered.
Step 4
When the paper is completely dry, the masking fluid must be rubbed off.
Start by painting shadows on the tubes. It’s better to do these first, because painting them afterwards risks blurring the text and colors on the tubes. Use a slightly damp brush to gradate the shadows so that the objects appear round.

Then paint everything that will later become black, the brush handle and parts of the tubes, with a medium gray color. Also paint the metal Ferrule of the brushes. Shiny metal sometimes causes problems, but think of metal as an uneven mirror that reflects a distorted image of its surroundings. It is difficult to create such a pattern without a template, either a real brush or a photo.
A little color on the tubes must also be painted. You can make the text as slightly uneven and crumbly lines. Try to find a good color mixture for the brush hairs, it might be difficult depending on the colors you chose, I “cheated” myself and used some yellow paint for this.
Step 5

Let the paint dry and then everything that is black must be painted. Leave out some reflections both in the brush shaft and the black on the tubes. Since these were gray before, it looks like natural reflections in a black object. If your brushes are a different color, do the same but with this color. Clarify some reflections in the metal and improve the brush hairs if necessary.


