Layering
March 22, 2026

Painting with thin layers of color on top of each other is a classic watercolor technique. By applying transparent washes in multiple layers, you gradually build up a painting. This method allows you to control both color and value.
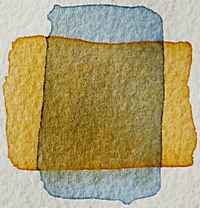
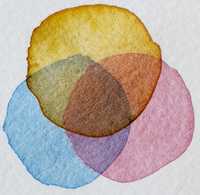
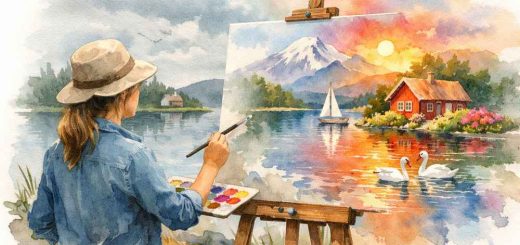
If you do an image search for “watercolor layering” you will find many images similar to those shown here—illustrations that say little about the actual technique.
The images and their accompanying text merely explain that applying one transparent color over another produces a third color. That is hardly surprising when working with transparent paint.
If the goal is to build volume, the second layer should not cover the entire first one. When using this technique to gradually create volume in an object, each new layer of watercolor should only partially cover the previously painted area. However, when the technique is used to adjust value or color, you can paint over the entire area.
You always begin with light, diluted color and then paint over it with either the same or a slightly darker color. It is very important that each layer is completely dry before it is painted over.
Each layer can be applied using any technique: you can paint a flat wash or work with varying values, as in a gradient. You can also scumble or paint wet-on-wet. What matters is not how the layer is applied, but that one layer of color is later painted over once it has dried.
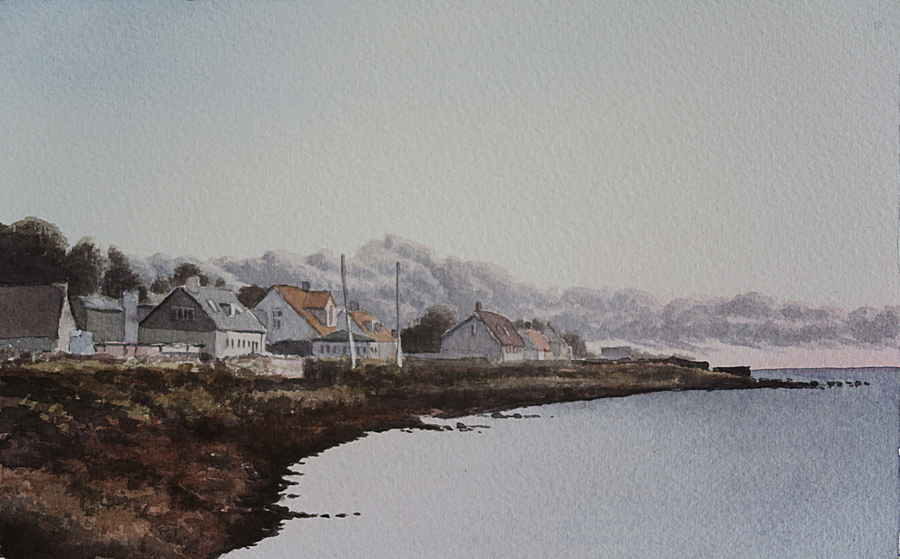
Instead of a theoretical explanation, I will show how layering can be used in practice. For this purpose, I use a painting that is mostly executed using this technique. The image depicts a sunset in Barsebäck and is made using Indanthrone Blue, Benzimidazolone Carmine, and Isoindolinone Yellow.
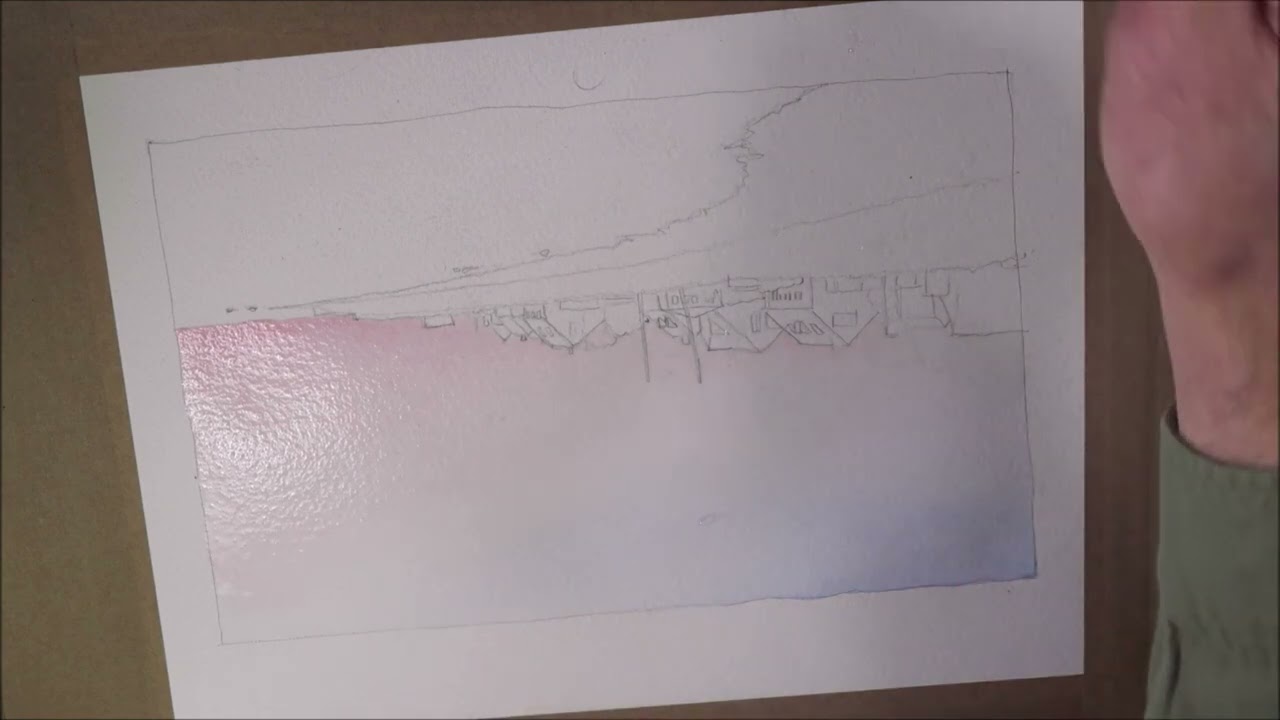
The sky is painted with two graded layers, first in blue and then in pink. A gradient means gradually changing the color within a wash—in this case from blue to white, and from pink to white. In practice, this means applying some blue paint in the upper left corner and then adding clean water to create a smooth transition. Once the layer is dry, you turn the paper and repeat the process with pink.
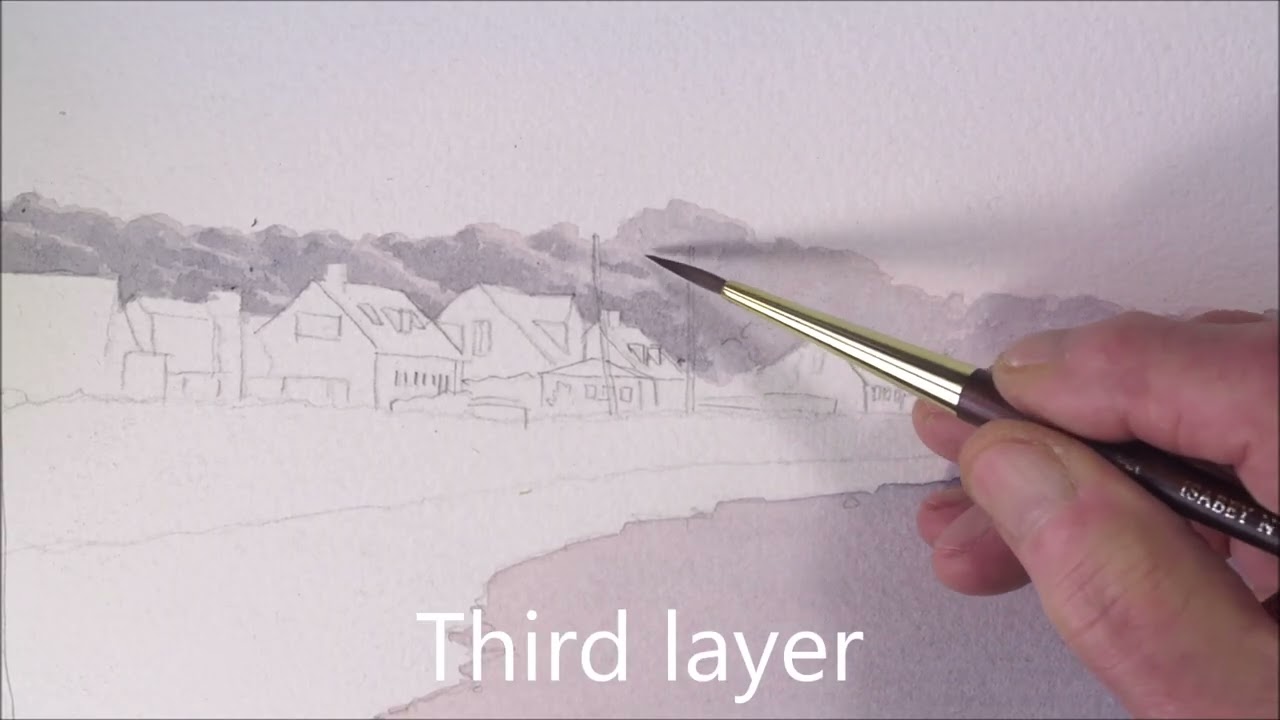
The clouds are painted in several layers to create volume. The first layer is a light pink to suggest the glow of the sunset. After that, all layers are painted with the same blue-gray color. With each new layer, I try to place the paint where the tones should be darkest and avoid areas that should remain light. After four layers, the clouds are complete.

The houses and the beach were painted in one go to avoid long waiting times. After applying some paint to a few houses, I move on to the beach; by the time that is finished, the houses are usually dry and ready for another layer.
The houses consist of flat surfaces painted with even washes. I start with approximate and fairly light colors, then gradually add more paint to build up different values that roughly reflect the subject. A painted area is covered again either to create stronger contrast with surrounding areas or to achieve a different color tone. Overpainting can also be used to create shadows.
Summary
By starting with light, diluted color and gradually painting over the same area—or parts of it—with the same or a different color, you can create a painting that slowly emerges. This is a classic watercolor technique. Thanks to the transparency of the paints, it is particularly well suited to watercolor. Each layer can be adapted to the desired effect. You can work wet-on-wet or with a dry brush, and you can create gradients or flat washes. What matters is not how a particular color is applied, but that it serves as a foundation for subsequent layers.