A glass of wine | An exercise


This is just an exercise, it really has nothing to do with art. I have used three different colors: Phthalo blue, quinacridone rose and burnt sienna. If you want to make color mixing a little easier, you can replace burnt sienna with a black one: ivory or lamp black. The brown color is only used to mix gray with the blue. You can use diluted black as gray.
Step 1


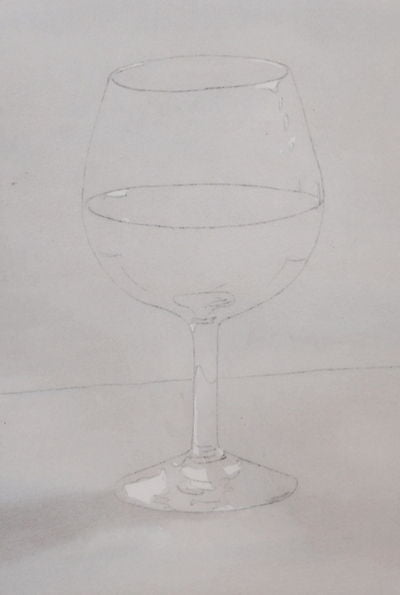
Paint the entire paper, except for a few highlights in the glass, with a light gray color. When you paint such a large area with the same color, you have to paint with lots of liquid, if the paint is applied to the paper too sparingly, you will get brush lines in the painting or worse: blooms. It is possible to use a flat wash for this. It can be difficult to see the unpainted details in the picture so I have marked them with red rings in picture no. 2. Remember that the shadow on the table from the glass should be painted wet on wet so that you get nice soft edges on it.
Step 2

Now the background must be painted, with the same gray color as before, the whole background is painted down to a line that separates the background from the base. Start by painting around the wine glass. As before, the surface must be painted so that no brush strokes are visible in the finished result. When the paint has dried, the same paint should be used for the surface inside the wine glass, but the wine itself should not be painted. Reflectors in the glass should not be painted, so save some light fields that are curved in the same way as the side of the glass. Look closely at the photo.
Step 3

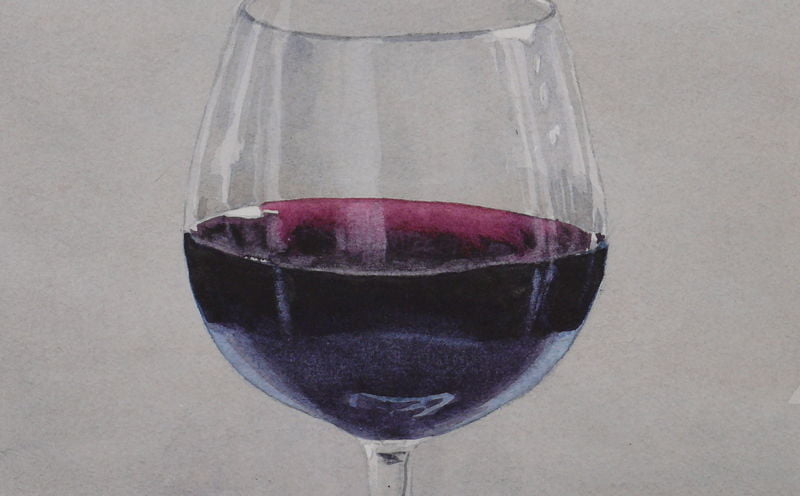
The surface of the wine should be painted, not the whole wine, just the surface. It is clearly red in its upper part while it is almost black at the bottom. Therefore, two different colors should be mixed before you start painting: the red which is deep dark red and one black. Start painting the red color and switch to black afterwards. The colors should flow into each other so that no clear border is visible,
While the paint is still wet, soak up some reflections with a damp brush. These should be a continuation of reflections in the glass above so that a cohesive reflex is formed. When you soak up paint in this way, there is a great risk that the wet paint all around will flow back in after a while, if this should happen, just do it again, and again if necessary.
You can also, if you want, clarify the different patterns that are in the foot of the glass. And if you have made such an ugly line, like me, between background and “table surface”, you can also improve it
Step 4

Now the rest of the wine in the glass should be painted, but not all at once. We start with a bluish, slightly lighter tone over the entire surface. It can be a little extra light at the bottom (see photo). It is the cold hue of the table surface that is reflected in the glass. Allow this to dry before proceeding.
Step 5

The last thing painted in the picture is the remaining wine in the glass. It should be painted really black. Leave a lighter edge between this field and the wine’s surface, these are both really dark color surfaces and must be separated by a lighter line. Leave some bluish tones at the bottom, they are painted already in the last step. Also soak up some reflections in the black part of the glass, they should be a continuation of the reflections above.


I just found your website and all these articles and exercises are so useful! Thank you!
You are welcome. Glad you enjoy all my hard work.