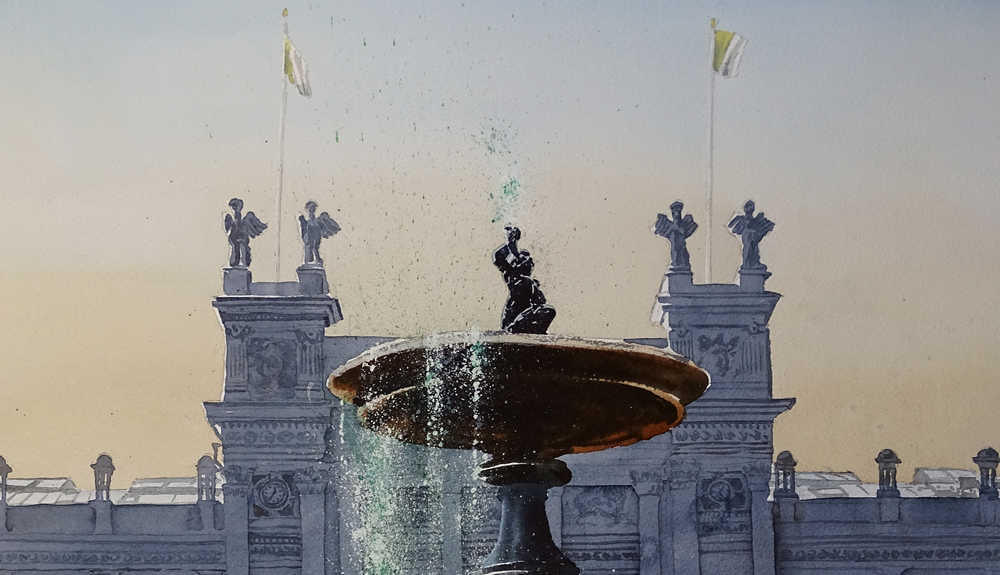
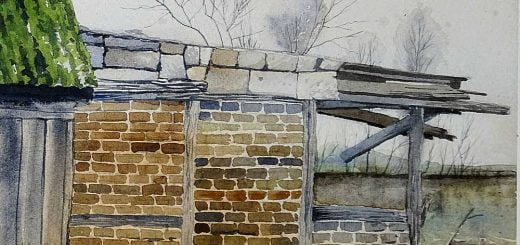
Gradient

I have recently completed some exercises in my watercolor courses which included gradients, large smooth gradients, small uneven gradients and everything in between. The result was partly disappointing. It is clear that this basic watercolor technique, for many, is more difficult than it should be. In other words, it may be appropriate to describe the technique and how it is most simply implemented.
What are gradients
Painting gradients is a way of painting a smooth surface with gradually changing color. The technique is the same as for a flat wash (Read more), with the difference that the color changes over time. The easiest thing is to start with any color, and to gradually dilute this with water so that the color surface forms a smooth transition from any color to a lighter variant of the same color. The gradation should be painted on an inclined paper so that gravity helps to create an even surface. You always start at the top and paint downhill.
The secret is lots of paint and water. When painting gradients, you must always use a filled brush and you must constantly fill it with more paint or water. If any part of the gradation should become only a little drier than the rest, spots will immediately appear.
At the lower edge of the paint surface, the paint will run down and form a long bead, it is this long bead that you gradually move down over the paper with long horizontal brushstrokes.
The long bead must never disappear or become dry, then the result will be patchy. Lots of color is the recipe for a nice gradation.
Gradients with color shift
Quite often, you need to change the color in a gradient area. I do this by painting the same area twice. The first color is applied as a regular gradient from a specific color to a lighter one with more water gradually. Then I let the color dry before painting a second time. The second gradient is applied from the other direction with the new color, but otherwise, it’s done in the same way.

An alternative method, as some recommend, is to change the color within the same color layer, starting with one color and then switching to another. Personally, I never do this; I find the technique too difficult to control, and mistakes easily occur when attempting to do a gradient in this way. It’s challenging to control the color value, and the transition can easily become abrupt or patchy. Moreover, the colors will mix on the paper, potentially not achieving the desired color transition between them.
Other ways to create gradients
If you were to search the Internet for “watercolor gradient,” you’d get a lot of results that I wouldn’t consider gradients. Many show starting with wet paper and adding colors to it, which can indeed result in something beautiful, but it’s actually a type of wet-on-wet painting.
Others suggest painting the same color area multiple times, something I am very skeptical about because the pigments become “muddy,” and it’s easy to lose transparency.
Furthermore, some suggest techniques that resemble “blending” borrowed from oil painting techniques, where you rub two different colors together using water.
So, there are many different ways to achieve a gradient, but for me, a gradient is painted in a single layer with varying value and/or hue. It is achieved through fluid painting on dry, sloping paper, where the new color or water is gradually added at the bottom of the color area.
Some tips to succeed with gradients:
- Tilt the paper throughout the entire gradient process, and let the paper dry while still tilted.
- Use the largest brush possible.
- Paint with as much paint and water as possible; if it becomes too dry, you’ll end up with a blotchy surface.
- Choose colors that flow well in water. Avoid granulating colors, as achieving a successful gradient with such colors can be challenging.
- Continue painting even when it seems like there’s only water in the brush and on the paper. Many stop painting a gradient, from color to white, when they think all the color is gone, and they’re just using water. However, there is usually still some pigment left. If you stop painting, you might end up with a faint edge. An easy way to avoid this line is simply to keep painting until the entire area is covered, even if it’s just with water.
Small gradients
Sometimes, you need a soft transition in a small area. The previously mentioned technique does not work for this purpose, so a different way to create a small gradient of color is needed. What I usually do is paint a color spot or line, depending on the desired result, and then immediately paint with clean water along the edge to create the gradient.

A few things are important to succeed in this:
- Keep the paper flat, do not tilt it.
- Create the gradient with water before the previously painted color has had a chance to dry.
- First, paint the color. Then, follow the edge of the painted color with water in the brush, avoiding painting water into the existing color on the paper.
- Try to paint both the first color and the gradation water with the same wetness.
- Avoid large brushes on small surfaces, it is easier with a small brush.


