
Take Care of Your Watercolor Tubes
July 8, 2026
 På Svenska
In my opinion, watercolor tubes are far superior to pans. That’s why I’m always pleased when a new student arrives at one of my workshops using tube colors. Sometimes, however, that pleasure quickly turns into disappointment. It happens when a student has treated their tubes so poorly that they are almost unusable.
Badly abused paint tubes are probably not very common, but I see them often enough to suspect that many watercolor painters throw away tubes long before they are empty—or struggle with paint that has dried out unnecessarily.
In this article, I’ll describe some of the most common ways people mistreat their watercolor tubes and suggest a few simple habits that will help them last much longer. A well-cared-for tube can remain perfectly usable for decades, while a neglected one may start drying out after only a few painting sessions.
Put the Cap Back Immediately
One thing I see surprisingly often is artists leaving the tube uncapped on the table. The cap should be put back on as soon as you’ve squeezed out the paint you need. The longer the paint inside the tube is exposed to air, the faster it dries.
Make it a habit to replace the cap immediately after using the tube.
Squeeze from the Bottom
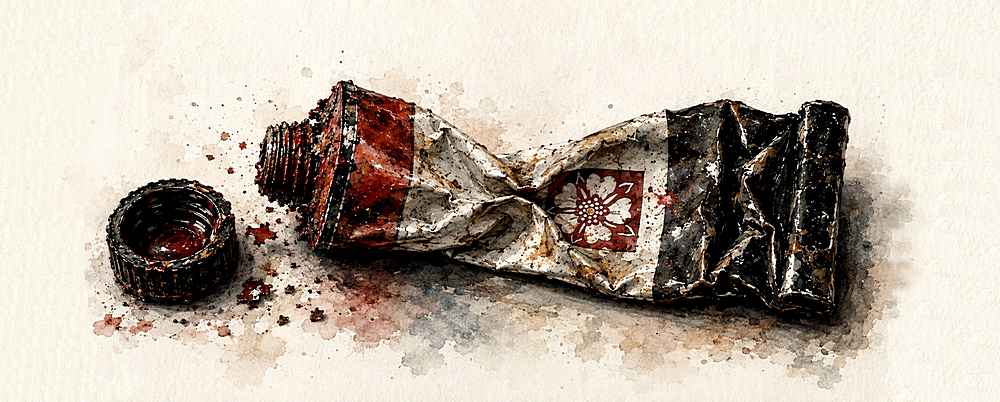
This is one of the most common mistakes. Many artists squeeze the tube in the middle instead of from the bottom. This traps paint in the back of the tube and creates sharp creases that are difficult to straighten.
Over time, these creases can develop into tiny cracks in the metal, allowing air to enter the tube and dry out the paint.
It doesn’t matter if there’s still perfectly fresh paint at the back of the tube. If the middle section has become flattened and the paint there has dried, getting the remaining paint out becomes almost impossible.

An empty tube should be completely flat or possibly rolled up from the bottom.
In the adjacent picture, there’s still a small amount of paint left in the blue tube. I squeeze out as much as I can by hand. When that no longer works, I use a pair of flat-jaw pliers to force out the very last bit. The tube is, of course, ruined by this treatment, but by then every last drop of paint has been used.
Keep the Threads Clean
It’s almost impossible to avoid getting paint into the threads—both on the tube and inside the cap. Once it dries, it acts like an abrasive every time you screw the cap on or off. If the cap no longer seals properly, air will slowly dry out the paint inside the tube.
Fortunately, watercolor paint is water-soluble, so it’s easy to remove dried paint with a little water and an old toothbrush.


I’m not suggesting that you clean the threads after every use, but when you notice a significant build-up of dried paint, it’s time to clean both the tube and the cap.
Many manufacturers—though not all—design their caps with a sealing ring inside that fits tightly around the tube’s opening. It’s especially important to keep this ring free from dried paint, otherwise air can leak into the tube. Other brands use a flat sealing surface instead, but the principle is exactly the same.
Never Force the Cap
If the cap is difficult to screw on, the reason is almost always dried paint in the threads—or perhaps a momentary lack of fine motor skills. Don’t try to force it.
It’s particularly bad if the cap starts cross-threading and you keep turning it despite the resistance.

I’ve seen artists whose entire paint sets have cross-threaded caps. Naturally, those tubes are usually covered with dried paint, both around the threads and over much of the tube itself. That kind of neglect almost guarantees dried-out paint sooner or later.
Avoid Twisting the Tube
This usually happens when the cap has become stuck because of dried paint in the threads. Some people resort to brute force—I have even seen artists use pliers—while holding the tube near its base. Instead of loosening the cap, they twist the tube.

If you ever find yourself with a cap that refuses to come off, use warm water—not pliers. Hold the cap and the neck of the tube under warm running water for a few minutes and try again. You can also stand the cap in a cup of warm water for a while. Repeat if necessary.
Whatever you do, don’t twist your tube apart.
A Few More Tips
A few additional suggestions:
- Don’t store your tubes in excessive heat.
- If a tube develops sharp creases, gently flatten them before they become cracks.
- When a tube is finally empty, wash and save the cap. Spare caps often come in handy. Just remember that different manufacturers use different cap designs, so they are not always interchangeable.
Final Thoughts
A watercolor tube is really quite a simple object, but with just a few good habits it can remain in excellent condition for many years. That saves both money and frustration—and, perhaps most importantly, it prevents the unpleasant surprise of discovering that your favorite color has dried out just when you need it most.